Angela Rovetto stumbled into sewing by chance. A self-described workaholic, Angela’s schedule was plenty busy and she wasn’t looking for a hobby. But a broken patio chair was about to lead her into a joyful and unexpected new phase of her life.
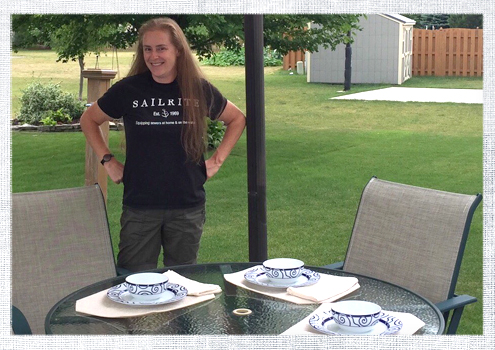
Angela with two of the patio chairs she made-over.
A couple of years back, Angela went to relax in one of her patio sling chairs when the fabric ripped. A gift from her parents, the patio set was really nice and the frames were still in good condition, so she decided to look around to see if she could fix her chair instead of just replacing it.
“Knowing it was an expensive set, I got on Google to look around,” Angela explained. “Once I figured out it was a sling chair, one of the top hits was Sailrite.”
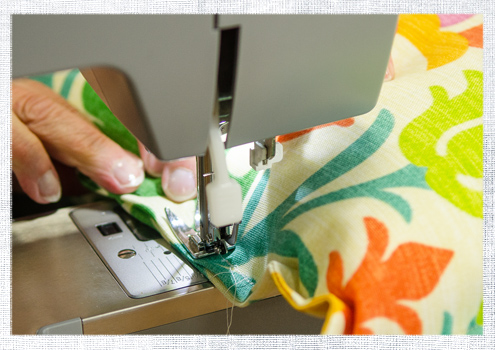
She watched Sailrite’s video and was encouraged by how detailed the steps were. She said she figured she’d give the project a try because it was cheaper than replacing the whole set.
“I took 8th grade home ec, so I’m a pro at sewing,” Angela joked. “But I knew I could sew in a straight line at least.”
After watching the video “like a hundred times,” Angela set out and completed her patio set.
“I felt such a sense of accomplishment, like, I did this,” she recalled.
After the slings chairs were complete, Angela had fabric leftover. Not wanting to waste it, she came back to Sailrite to look for another project she could sew. She found the market tote bag tutorial.
“Who doesn’t need a tote bag?” she said and jumped into the project. “From there [sewing] spiraled into a hobby.”

Two different bag designs Angela made.
She started sewing purses and then wallets for herself and her friends. Then she made drawstring backpacks for all the children in her life.
“I made a lot of backpacks,” she said. “It was like, ‘You get a backpack! You get a backpack!’”
Along the way, Angela also reupholstered a chair. She described the inspiration to try upholstery as being similar to the patio chairs that started it all.
“My parents gave me a really nice chair but it was completely hideous,” she said. “I found a video at Sailrite on how to reupholster a chair. The video really gave me a lot of confidence. It has tangible steps to follow. I’m a very visual learner, so seeing someone do the project really helps.”
The more Angela sewed the more she wanted to learn. She recalls spending a lot of time on Google, looking up new sewing techniques to help her perfect her projects. She couldn’t always find tutorials for exactly the project she wanted to make, so she’d piece the instructions together from multiple sources. In late 2015, this lead Angela to want to start her own blog as a way to share the projects she’d made with others and to “be a part of the conversation,” she said.
“I just started it to see what happened,” Angela said about her blog, which has already received hits from around the world including Germany, Portugal and India.
But perhaps one of the most unexpected perks of taking up sewing for Angela has been her renewed happiness and a better work/life balance.
“I found that I’m a lot happier,” she said of life with her hobby. “It involves what drives me; problem solving. I really like taking things apart and putting them back together.”

Angela made these outdoor cinder block benches and the cushions.
Since learning how to sew, Angela has been a prolific maker, filling her blog with all of her creations but when she thinks back to what she’s most proud of she goes right back to the beginning.
“[I’m most proud of] the patio set,” she said after a bit of thought. “I use it so much and it was the first thing I did. I’m proud of a lot of things I’ve done since then, but this was the project that started them all.”
Since sewing has made such a profound impact on her life, Angela is very encouraging of others taking up sewing.
“Just try it—if you don’t do it right the first time, rip the seams and try again. I’m a professional seam ripper,” she laughed. “Get a good seam ripper and be patient with yourself. If you don’t want to waste your good fabric, use scraps and make a prototype. Just try. And use the resources out there. If you search for something, you’ll get a hit. I always find myself going back to Sailrite.”
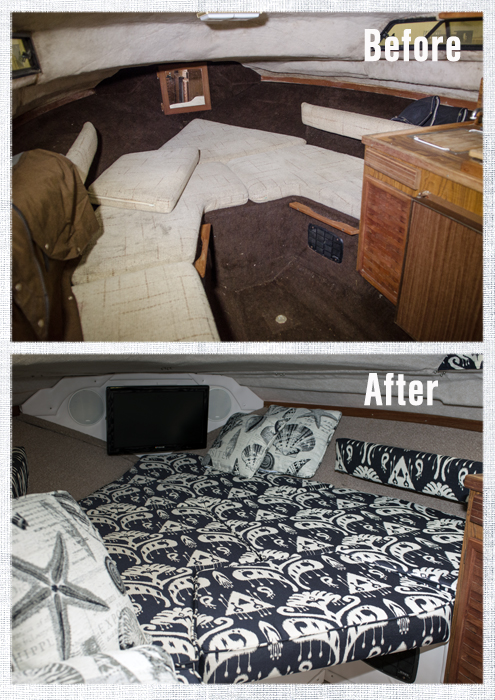
Angela admitted that she doesn’t sew as much during the summer months, opting instead to spend time outdoors and on her boat. She’s currently working up the courage to reupholster the seats on her Sea Ray powerboat.
Her next big project will be altering a bridesmaid dress for a wedding she’s standing up in at the end of the summer. Angela will be hemming the dress and her aunt, a seamstress, will help teach her how to alter the bodice, she said.
“I really do feel that anyone can do this,” Angela added. “I don’t have an innate talent for sewing. Anyone has the ability to sew. Just work your way up and you can do this.”
To see more of Angela’s projects, follow her blog, Angela Sews or visit her page on Facebook.